
Table of Contents[Hide][Show]
Key Takeaways:
- A rough, cakey finish is often a sign of surface dehydration or a moisture barrier needing support, rather than “bad” makeup.
- Excess oil production can break down the binding agents in makeup, causing pigment to separate and look patchy.
- Layering incompatible ingredients, specifically silicone-based primers with water-based foundations, creates immediate texture issues known as “pilling.”
- Minimizing the “cake” requires a skin-first approach, prioritizing hydration and gentle exfoliation over heavier coverage.
Looking in the mirror to see a textured, uneven mask instead of the radiant glow you hoped for is incredibly frustrating. It is easy to blame your skills or the foundation itself when pigment settles into pores or slides off by midday.
However, a cakey finish is rarely about the makeup product alone; usually, it is a distress signal from the canvas underneath. Whether due to dehydration, texture, or chemical incompatibility, your skin is simply communicating a need for balance.
By understanding how pigment interacts with your skin’s surface and adopting a mindful, nurturing approach, you can transform this frustration into a ritual that leaves you looking radiant and feeling confident.
The Science Behind “Why Does My Makeup Look Cakey?”
To understand why makeup rebels against us, we must look beyond the bottle and examine the biology of adhesion. Your skin is not a stationary sheet of paper; it is a living ecosystem. How makeup sits on your face is largely determined by the status of your stratum corneum—the outermost layer of your skin.
The Biology of Adhesion
Ideally, your skin’s surface should be smooth and flexible, allowing foundation to lay down in an even, continuous film. Adhesion biology tells us that for makeup to stick properly, the surface tension of the liquid foundation must match the surface energy of the skin. When the complexion’s outer layer is compromised—whether by dryness or excess oil—that tension is disrupted. Instead of merging seamlessly, the pigment sits on top, highlighting microscopic peaks and valleys.
Dehydration and Texture

When we speak of “cakey” makeup, we are often seeing the visual result of a dehydrated canvas. Healthy-looking, hydrated skin cells are plump and lie flat.
When your skin is dehydrated, those surface cells don’t lay flat. They can stiffen and slightly lift at the edges, which creates uneven texture.
That uneven surface is a big reason makeup can start to look cakey or dry. Pigment grabs onto those rough areas and settles there, making everything look heavier than it actually is, even if you only applied a small amount.
Sebum and Separation
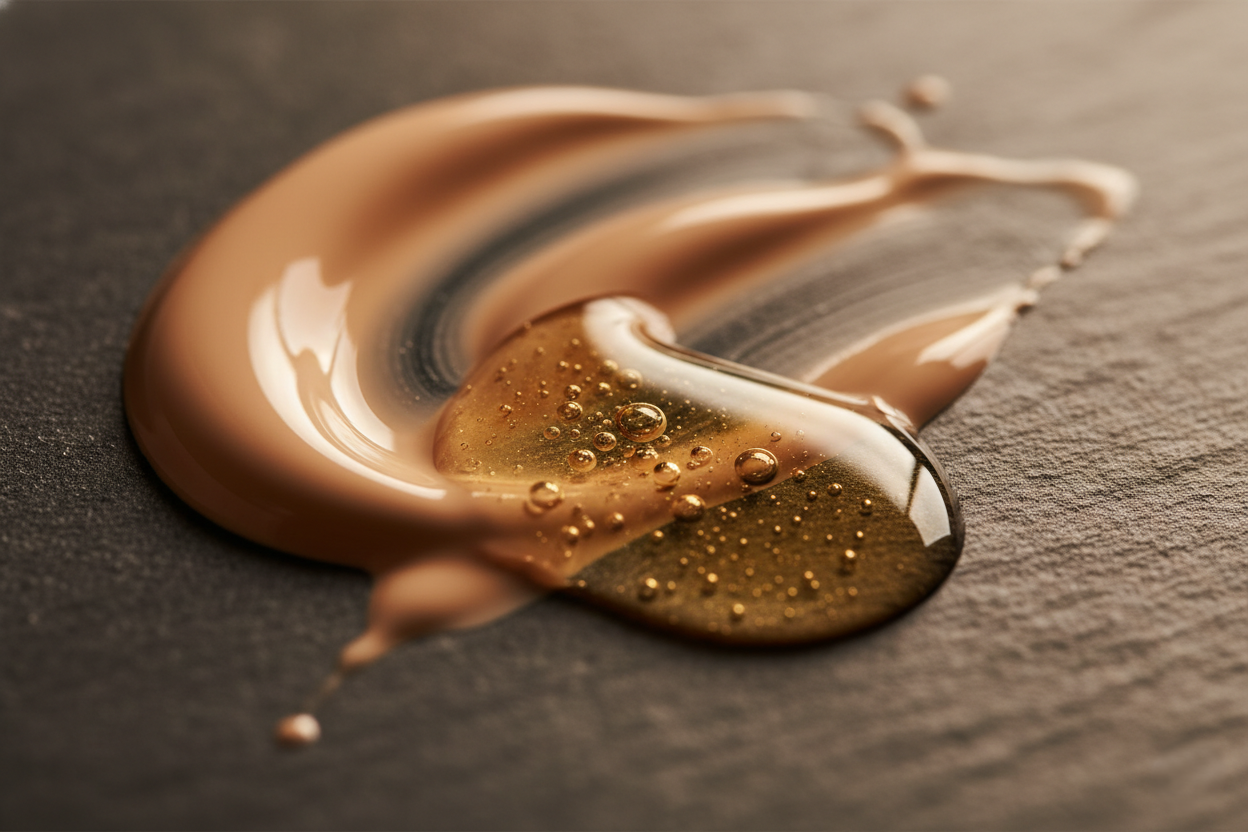
On the other end of the spectrum is the chemistry of oil breakdown. Foundation is essentially an emulsion—a balance of oil, water, and pigment.
When you produce excess oil, it mixes with your foundation throughout the day. That oil can start to break down the ingredients that keep your makeup in place. When that happens, the pigment separates, shifts, and settles into certain areas. That’s why foundation can start to look patchy or uneven after a few hours. It’s not always about how much you applied. It’s often about how your skin and the product are interacting as the day goes on.
To understand which oils work with your skin type rather than against it, read our guide on which facial oil is best for oily skin.
Chemical Incompatibility (Pilling)
Sometimes it’s not your skin at all. It’s just product chemistry.
What you’re seeing could be pilling, which happens when layered products don’t play well together. A common example is using a silicone based primer with a water based foundation. Silicone repels water, so when you apply a water based product on top, it can’t properly grip the surface.
Instead of blending in, it starts to bead up and roll into little balls. That can instantly look like dry, textured skin, even though the issue is really just incompatible formulas.
Why Caking Happens in Specific Zones and Times
You may notice that your makeup looks flawless on your cheeks but disastrous on your nose, or perfect in the morning but patchy by noon. That difference usually comes down to how various areas of your skin behave throughout the day.
The Nose and T-Zone Trouble
“Why does my makeup look cakey on my nose?” is a frequent concern. The nose is notoriously difficult to keep smooth because the skin here possesses a higher density of sebaceous glands and larger pore structures. Because this area constantly pushes sebum to the surface, it creates a “slip” layer that prevents foundation from gripping. Also, because the nose is curved, it’s harder to apply makeup evenly there. That can lead to certain spots getting more product than others, which makes texture or separation more noticeable.
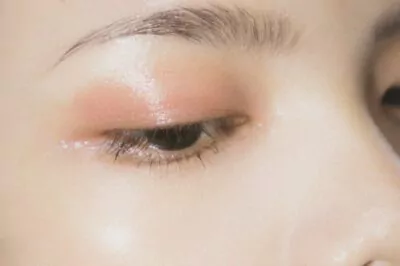
Creasing Around the Mouth and Eyes
f your makeup tends to look cakey around your mouth, it’s often because that area moves constantly throughout the day. Every time we smile, speak, or blink, the skin folds and stretches. Over time, this movement shears the film of makeup, pushing pigment into natural lines. Furthermore, the skin around the mouth and eyes is thinner and lacks the same lipid density as the cheeks, making it more prone to dehydration. As moisture evaporates, the leftover pigment dries out and settles into these lines.
The “Mid-Day Meltdown” (Time-Based Caking)
Many ask, “Why does my makeup look cakey after a few hours?” The answer lies in oxidation and Transepidermal Water Loss (TEWL). Throughout the day, water naturally evaporates from your skin. As the water content decreases, the remaining foundation loses its fluidity and becomes dry. Simultaneously, the oils in your makeup (or your skin) can oxidize when exposed to air, causing the texture to thicken and the color to darken, emphasizing a heavy look.
The “Skin-First” Ritual to Minimize Caking
If the problem is the canvas, the solution must be the care we give it. By shifting your perspective from “covering up” to “caring for,” you can create a surface that holds makeup beautifully.
Step 1: Gentle Exfoliation
You simply cannot paint over a rough surface and expect a smooth finish. Gentle exfoliation is vital for removing dead skin cells that grab onto pigment. However, harsh scrubs can cause micro-tears and irritation. We prefer a gentle approach using our Resurfacing Facial Exfoliant or the Ayurvedic Facial Scrub. Regular exfoliation dissolves the bonds holding dead skin cells together, revealing the fresh-looking skin beneath without abrasion.
Step 2: Hyper-Hydration
Think of a dry sponge versus a damp one. A dry sponge is hard; a damp sponge is soft and absorbent. Your skin works the same way. Plump, hydrated skin allows makeup to glide effortlessly. We encourage applying skin care products to slightly damp skin to lock in moisture. For a base that mimics the skin’s natural lipid barrier, our Anti-Aging Facial Oil serves as an exceptional pre-makeup step. It provides the necessary slip for foundation without the heaviness of synthetic silicones, ensuring the skin looks supple beneath the pigment.
Step 3: Strategic Priming
A primer should be a shield for your skin, not just glue for your makeup. The goal is to create a breathable barrier that regulates the exchange of oil and moisture. For a smooth, dewy finish that doesn’t feel heavy, we recommend the Herbal Facial Oil for Normal and Combination Skin. This lightweight blend acts as the perfect natural primer, balancing the skin’s sebum production so your foundation neither slides off nor clings to dry patches. For more on choosing the right products, explore our comparison of facial oil vs. moisturizer.
Application Mistakes That Ruin the Finish
Even with radiant, well-prepped skin, heavy-handed techniques can instantly create a cakey appearance. A mindful application requires a “less is more” philosophy.
Overloading the Skin
The most common error is applying a thick “blanket coat” of foundation. Your skin has a saturation point; once it cannot hold any more product, the excess sits on top as texture. Instead, apply thin, sheer layers, building coverage only where you truly need it (usually the center of the face) and shearing it out toward the hairline.
The Setting Powder Trap
Powder is a tool, not a mandatory step for every inch of your face. If you find yourself asking, “why does my makeup look cakey after setting powder,” you may be applying it too liberally. Powder acts as a sponge.
If applied to areas that are already dry (like cheeks or under-eyes), it absorbs the remaining life out of your foundation. To avoid this, concentrate powder only on the T-zone where oil production is highest.
Tool Texture Issues
The tool you use dictates the finish. Buffing a dry brush into dry skin can create micro-exfoliation—lifting up flakes of skin and mixing them with the foundation. For those prone to caking, a damp beauty sponge is often superior. The moisture in the sponge prevents it from absorbing your product, while the bouncing motion presses the makeup into the skin for a seamless blend.
Quick Fixes: How to Salvage Cakey Makeup
If you look in the mirror mid-day and see texture, don’t panic. You rarely need to wash your face and start over. There are ways to revive the finish.
The “Melt” Technique
When makeup looks powdery or dry, the layers have separated. You can re-merge them by using a hydrating setting spray (ensure it is free of drying alcohols) or a mist like our Botanical Hydration Mist with Immortelle. Mist your face generously. As the spray settles, it helps the powder residue and foundation melt back into a single, cohesive layer.
The Blot and Press
If oil is the culprit, never wipe. Wiping drags the pigment. Instead, use a blotting paper to gently lift excess oil. Follow this by using a damp sponge or your warm fingertips to press the remaining pigment back into the skin, smoothing out any separation.
Spot Re-hydration
For severe dry patches where makeup has cracked, you need to reintroduce lipids. Take a tiny drop of Rejuvenating Facial Oil or creamy moisturizer on your ring finger. Warm it up, and then gently press—do not rub—it over the cakey spot. This smooths the appearance of texture instantly.
Conclusion: Honoring Your Skin
Ultimately, a flawless finish is 80% skin care and 20% makeup application. When we stop fighting our skin and start understanding its biological rhythms—whether it is asking for moisture or trying to balance excess oil—we can adjust our rituals to support it. The goal should never be to create a mask, but to enhance the vibrant, living canvas you already have. By prioritizing hydration, respecting your skin’s protective surface, and applying product with a mindful touch, you can enjoy a glow that feels as good as it looks.
Frequently Asked Questions
Why does my makeup look cakey even with primer?
This is often due to using too much primer or formula incompatibility. If you pair a silicone-based primer with a water-based foundation (or vice versa), the products may repel each other, causing separation regardless of skin prep.
Why does my makeup look cakey after setting spray?
It depends on the formula. A hydrating setting spray helps meld layers together. However, setting sprays high in alcohol can dry out the surface, potentially causing the makeup to look cracked or cakey over time.
Why does my foundation look separate on my nose?
The nose has a high density of oil glands and smooth cartilage. Excess oil breaks down the foundation, causing it to slide. To address this, use less product on the nose, consider an eye primer for better grip, and press—don’t rub—the foundation in.
How do I stop my under-eyes from creasing?
The skin here is thin and prone to dehydration. Creasing happens when there is too much product. Hydrate the area well, allow it to absorb, apply a thin layer of creamy concealer, and use only a microscopic amount of loose powder to set it.


Leave a Reply