
Table of Contents[Hide][Show]
Key Takeaways:
- Treating your skin prep as a “canvas rebuilding” ritual prevents makeup from cracking, flaking, or melting by creating a stable surface environment.
- The universal “Wait Time” rule—pausing 60-90 seconds between skin care steps—is the secret to preventing product pilling and muddy texture.
- Effective prep is not one-size-fits-all; oily skin requires hydration to stop sebum rebound, while mature skin relies on antioxidant-rich support to smooth the look of fine lines.
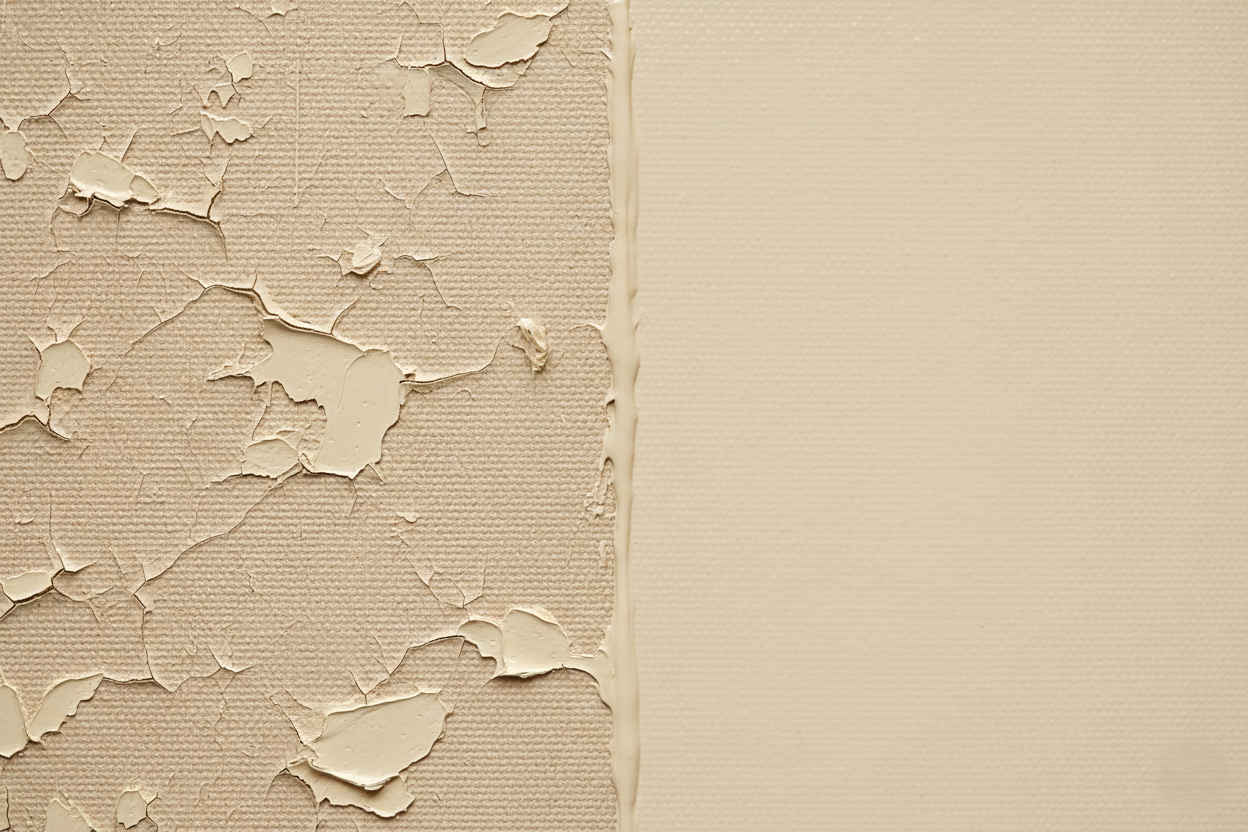
Nothing is more frustrating than seeing your high-quality foundation cake or separate by midday. But before you blame the formula, look closer at your “canvas.”
Just like art, if the surface is rough or thirsty, the paint will never sit smoothly. The secret to a flawless finish isn’t better pigment—it lies in what happens underneath. By shifting your focus to supporting your skin’s natural biology, you can transform makeup prep into a mindful ritual that enhances your radiance rather than just masking it.
The Science of the “Canvas”: Why Prep Matters More Than Product
If you’ve ever wondered why your makeup isn’t sitting right, it helps to understand what it’s actually sitting on.
Makeup rests on the very top layer of your skin, called the stratum corneum. You can think of this layer like a brick wall. The skin cells are the bricks, and your natural oils act like the mortar that holds everything together.
When that top layer is smooth and balanced, makeup goes on more evenly. When it’s dry, flaky, or disrupted, that’s when things start to look patchy or textured.
The Biological Foundation
If that “mortar” gets disrupted from over cleansing or harsh products, or if the “bricks” are uneven from built up dead skin, your makeup doesn’t have a smooth surface to sit on. This leads to patches where makeup clings to dry spots or slides off where the barrier is weakened.
Integrity of the Barrier
A healthy outer layer is the gatekeeper of your makeup’s longevity. It regulates oil production and holds hydration within the skin. When we neglect this barrier, we experience Transepidermal Water Loss (TEWL). As water evaporates from your skin throughout the day, your foundation dries out, beginning to look chalky or cracking like a dry desert floor.
The Goal
The goal of skin prep before makeup is simple. You want to create a smooth, balanced surface that looks and feels like healthy skin.
When your skin is properly hydrated and your texture is even, makeup applies more seamlessly. You usually end up needing less coverage because your skin already looks good on its own. The makeup just enhances what’s there instead of trying to cover it up.
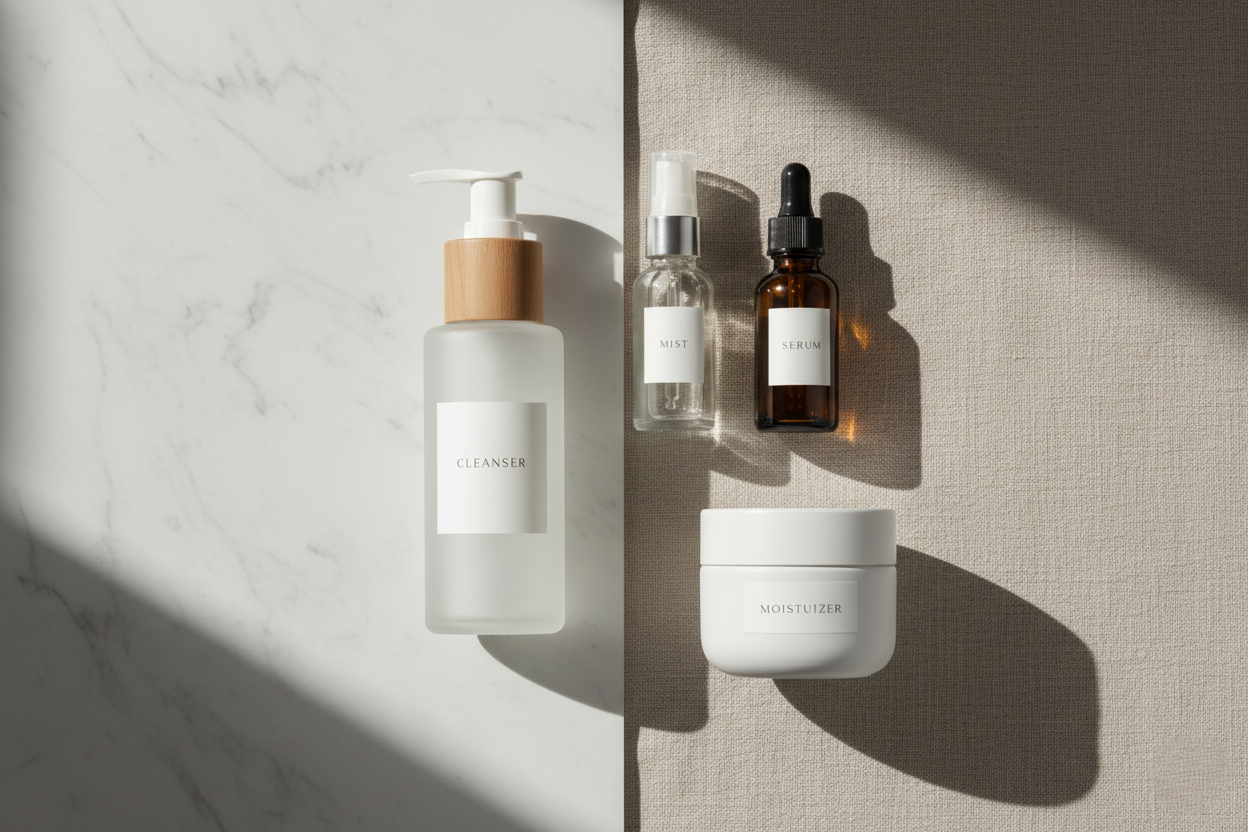
The Universal 4-Step Prep Ritual
While skin types vary, the physiology of makeup adhesion follows a universal flow. These four steps act as the non-negotiable architecture for a lasting look, teaching you exactly how to prep skin before makeup effectively.
Step 1: Gentle Cleansing and Rebalancing
The first mistake many make is over-cleansing to get a “squeaky clean” feel. Unfortunately, stripping the skin of its natural oils triggers a panic response, causing your pores to overproduce sebum later in the day, which melts your makeup. Instead, choose a creamy cleanser like our Aloe Herb Cleanser. This removes impurities while maintaining the skin’s natural pH, leaving the lipid barrier intact and receptive.
Step 2: Smoothing Texture (Exfoliation)
If your foundation looks textured or grainy immediately upon application, dead surface cells are usually the culprit, making how to prep skin for foundation a question of texture management.
However, scrubbing before makeup is risky; it can cause micro-tears and redness that you then have to cover up. We recommend gentle enzymatic exfoliation. Fruit enzymes dissolve the bonds holding dead skin cells together without abrasion, revealing a polished, smooth surface that reflects light beautifully.
Step 3: Deep Hydration (The Humble Hero)
Hydration is the mechanism that “plumps” the appearance of the skin. Ingredients like Tremella mushroom extract or Hyaluronic Acid effectively pull water into the skin cells via osmosis. When the cells are full of hydration, the skin surface creates a flatter, tighter plane. A spritz of Botanical Hydration Mist with Immortelle provides this essential hydration layer, allowing your foundation to glide rather than drag.
Step 4: Sealing and Protecting
This is the transformative step for texture. While hydration plumps, oils soften. Applying a lightweight oil like the Herbal Facial Oil for Normal and Combination Skin not only seals in moisture but also smooths the microscopic roughness of the skin’s surface. This creates a velvety, conditioned base that helps makeup adhere evenly without clinging to dry patches or settling into pores.
Tailoring Prep by Skin Type
While the steps remain the same, the ingredients and textures you choose must harmonize with your specific skin biology. Here is how to customize the ritual based on your unique needs.
How to Prep Dry Skin for Makeup
Dry skin presents a texture challenge; it is thirsty and will often drink the water content right out of your liquid foundation, leaving only the dry pigment powder behind on the surface.
- The Ritual: Layering is your best friend. Start with a hydrating mist to dampen the skin, follow with a rich, aloe-based serum, and finish by locking in moisture with a rich oil like our Anti-Aging Facial Oil.
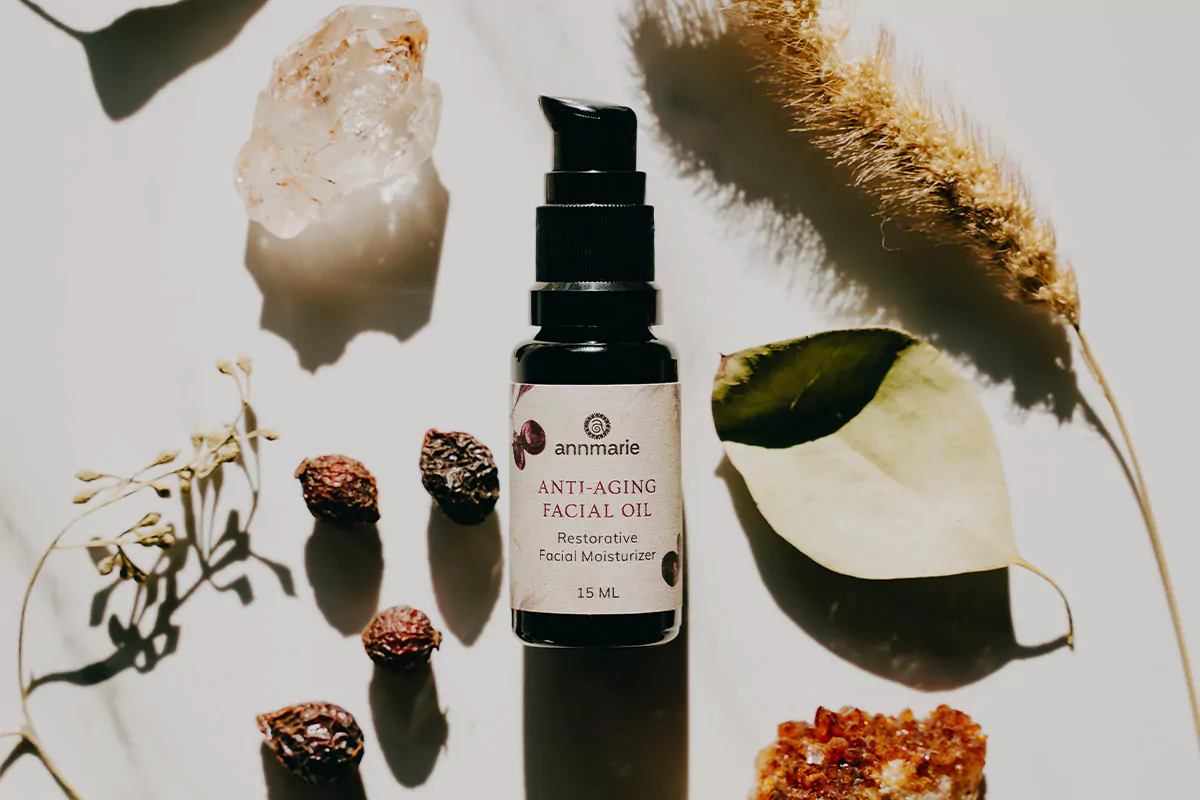
- Why It Works: The oil acts as a surrogate for the sebum your skin lacks, conditioning dry flakes so they lay flat rather than lifting up under concealer.
How to Prep Oily Skin for Makeup
The biggest myth is that oily skin doesn’t need moisturizer. If you skip hydration, your skin senses the dryness and compensates by flooding the surface with oil—the enemy of long-wear makeup.
- The Ritual: Focus on water-based hydration rather than heavy oils. Use a lightweight serum that absorbs fully.
- The Hack: Apply a balancing toner to your T-zone immediately before your moisturizer. This helps regulate the surface pH and keeps the skin calm, preventing that midday shine breakthrough.
How to Prep Combination Skin for Makeup
Combination skin requires a “zonal” approach because your cheeks may be struggling with dehydration while your T-zone is battling excess oil.
- The Ritual: Practice “multi-prepping.” Apply your lighter, facial oilsto the center of your forehead, nose, and chin. Then, massage a richer cream or a drop of a heavier oil onto the perimeter of the face and cheeks.
- The Result: This equalizes the texture across the face, so your foundation wears evenly rather than patching off in some areas and sliding off in others.
How to Prep Mature Skin for Makeup
As we age, our skin produces less collagen and oil, leading to thinner skin and more visible texture. The goal here is to revitalize the look of the skin before coverage.
- The Ritual: Take an extra minute to massage your moisturizer in upward, lifting motions. This stimulates blood flow, bringing a natural rosiness and temporary firmness to the complexion. Incorporate antioxidants that focus on firming the appearance of skin, which helps makeup sit on top of lines rather than settling into them.
- Why It Works: A pliable, nourished surface prevents the “crepey” look that can happen when matte makeup settles onto dry, mature skin.

The Art of Timing and Texture Compatibility
Even with the perfect products, technical errors can ruin your application. The two most common issues are timing and chemical incompatibility.
The “Wait Time” Rule
Patience is the unsung hero of skin care. If you apply foundation while your moisturizer is still wet, you are essentially diluting your makeup and creating a muddy mixture that will slide around.
- The Guidance: Wait 60 to 90 seconds between each skin care step. Before applying foundation, give your skin 3 to 5 minutes to fully absorb your prep products. Use this time to brush your teeth, choose your outfit, or simply breathe.
Troubleshooting “Pilling”
Have you ever applied foundation only to have little balls of product roll off your face? This is called pilling, and it usually happens when oil and water collide.
- The Fix: Align your bases. If you are using a facial oil or a rich oil-based cream, ensure your foundation is also oil-based or an emulsion that can handle lipids. If you use a water-based primer, pair it with a water-based foundation. Silicone-heavy primers layered over oil-heavy moisturizers are a frequent cause of separation.
Conclusion: Prep as a Self-Care Ritual
Ultimately, knowing how to prepare the skin for makeup is about more than aesthetics; it is an act of care. It is a commitment to protecting your skin’s integrity underneath the layers of pigment. By taking these few minutes to cleanse, hydrate, and nourish, you turn a mundane morning task into a grounding moment of connection with yourself. When you approach beauty as a mindful ritual, the result is not just makeup that lasts longer, but a radiant confidence that comes from feeling comfortable in your own skin.
Frequently Asked Questions
What comes first, moisturizer or primer?
Moisturizer is always the final step of your skin care routine (used to hydrate and seal the barrier), while primer is the first step of makeup. However, when you use high-quality, natural skin care that balances the skin’s texture, you may find that a separate silicone primer becomes unnecessary.
Can I skip moisturizer if I have oily skin?
We strongly advise against this. Skipping moisturizer often signals your skin to produce more oil to compensate for the lack of surface hydration. Instead, opt for a lightweight, non-comedogenic herbal moisturizer that hydrates without feeling heavy.
How do I prepare my skin for makeup if I have acne?
Focus on soothing the appearance of inflammation first. Avoid scrubbing active breakouts, as this increases redness and texture. Focus on deep hydration; a hydrated area is much easier to conceal naturally and safely than a dry, crusty one.
Is it necessary to wash your face before makeup if you showered at night?
Yes. Even if you cleansed the night before, your skin accumulates sweat and dust from your pillow while you sleep. A gentle morning cleanse or a rinse ensures you are starting your “canvas” work on a fresh, clean surface.


Leave a Reply