Your skin sometimes craves a gentle embrace to truly glow. With a simple homemade Vitamin C serum, you can provide your skin with powerful antioxidants, helping to brighten, even out its tone, and support a firmer, more youthful appearance. Vitamin C has long been considered a “key” to radiant skin, addressing many concerns from the look of dark spots to improving overall skin texture.
It’s precisely these wonderful benefits that make crafting your own pure Vitamin C serum at home so appealing. Right in your own cozy kitchen, you can create an activated skin care product, ensuring absolute freshness and safety. This isn’t just about controlling what you apply; it’s also a delightful, creative experience. Let’s dive into how to make it!
Let’s Get Mixing: Craft Your Own Vitamin C Serum
Now it’s time to turn knowledge into action! Creating a fresh batch of Vitamin C serum yourself isn’t as complicated as you might think. While serums can be complex formulas, this DIY is simple, minimal, and focused on hydrating while delivering the benefits of vitamin C. With a little preparation and care, you’ll soon have a pure, homemade elixir for your skin.
Essential Ingredients & Tools to Prepare
Before we start, let’s go over the “must-haves”:
Main Ingredient – Vitamin C Powder (L-Ascorbic Acid):
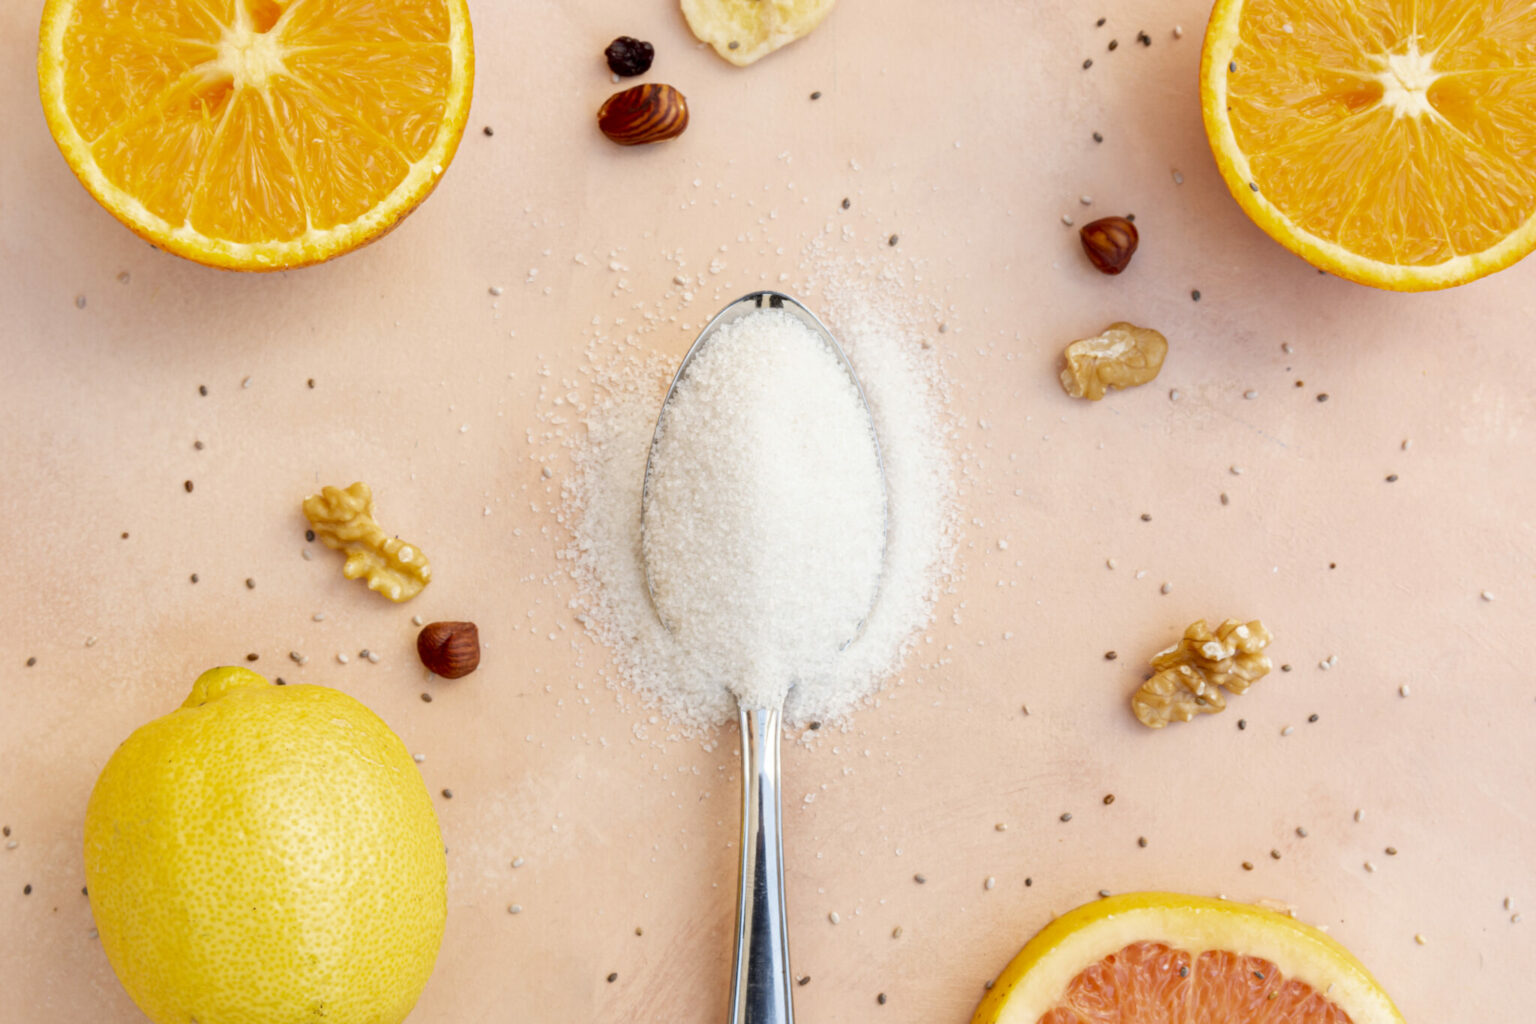
- You’ll need pure, fine L-Ascorbic Acid (LAA) powder for easy dissolving. This is the most common form of Vitamin C for effective DIY skin care.
- L-Ascorbic Acid is quite sensitive and oxidizes easily, so we’ll need to be careful during preparation and storage. You can learn more about the differences between Vitamin C serums vs. powders to make the best choice.
- You could also get Brighten Concentrated Boosting Elixir from the Annmarie Skin Care shop, which uses gentle and stable vitamin C derivative Tetrahexyldecyl Ascorbate (THDA) with sea buckthorn.
Solvent – Distilled Water (Or Pure Rose Water):
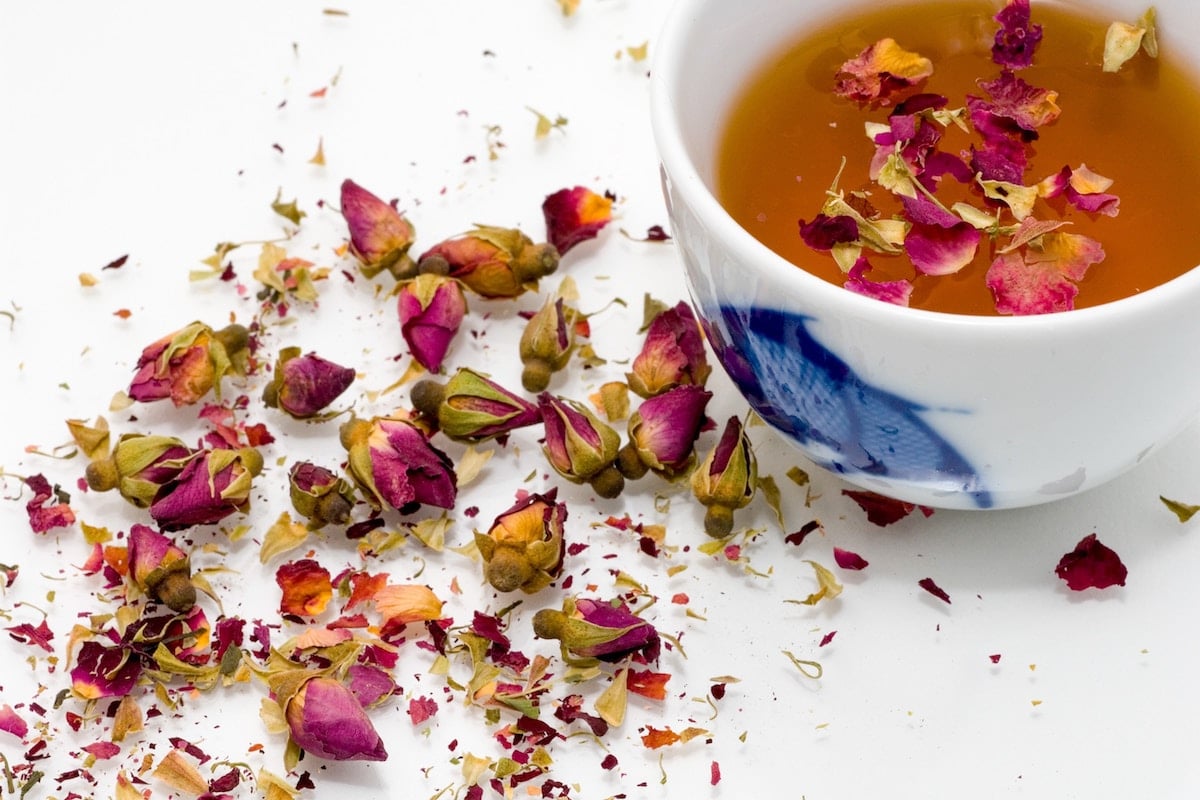
- Using distilled water is best to ensure no impurities affect your serum.
- If you prefer a gentle aroma and added soothing benefits, you can choose pure, alcohol-free rose water.
Additional Ingredients (Optional but Beneficial):
- Vegetable Glycerin: About ¼ – ½ teaspoon. Glycerin helps hydrate the skin, gives the serum a slightly thicker consistency, and may help stabilize LAA a bit.
- Pure Aloe Vera Gel: About 1-2 teaspoons. Aloe vera helps soothe and hydrate, which is great if your skin is a bit sensitive.
- Vitamin E Oil: A few drops. Vitamin E is also an antioxidant; when combined with Vitamin C, it can enhance skin protection and help stabilize the serum.
Tools:
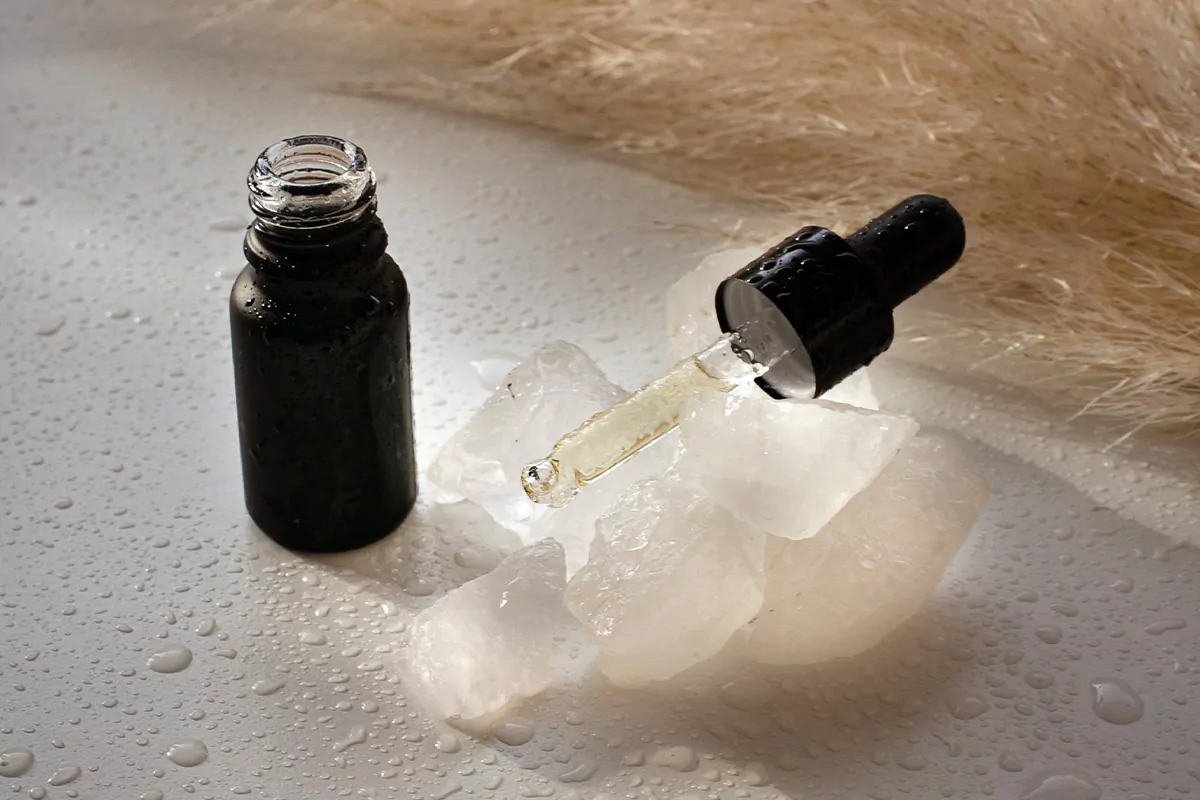
- Dark glass bottle (amber or cobalt blue) with a dropper: Capacity around 0.5 – 1 fl oz (15-30ml). A dark bottle is crucial to protect Vitamin C from light.
- Small, clean glass cup or bowl: For mixing.
- Small stirring utensil (glass or ceramic): Avoid metal tools as they can react with Vitamin C.
- (Optional) Small funnel: Makes pouring the serum into the bottle easier.
Basic Vitamin C Serum Recipe (Easy & Effective)
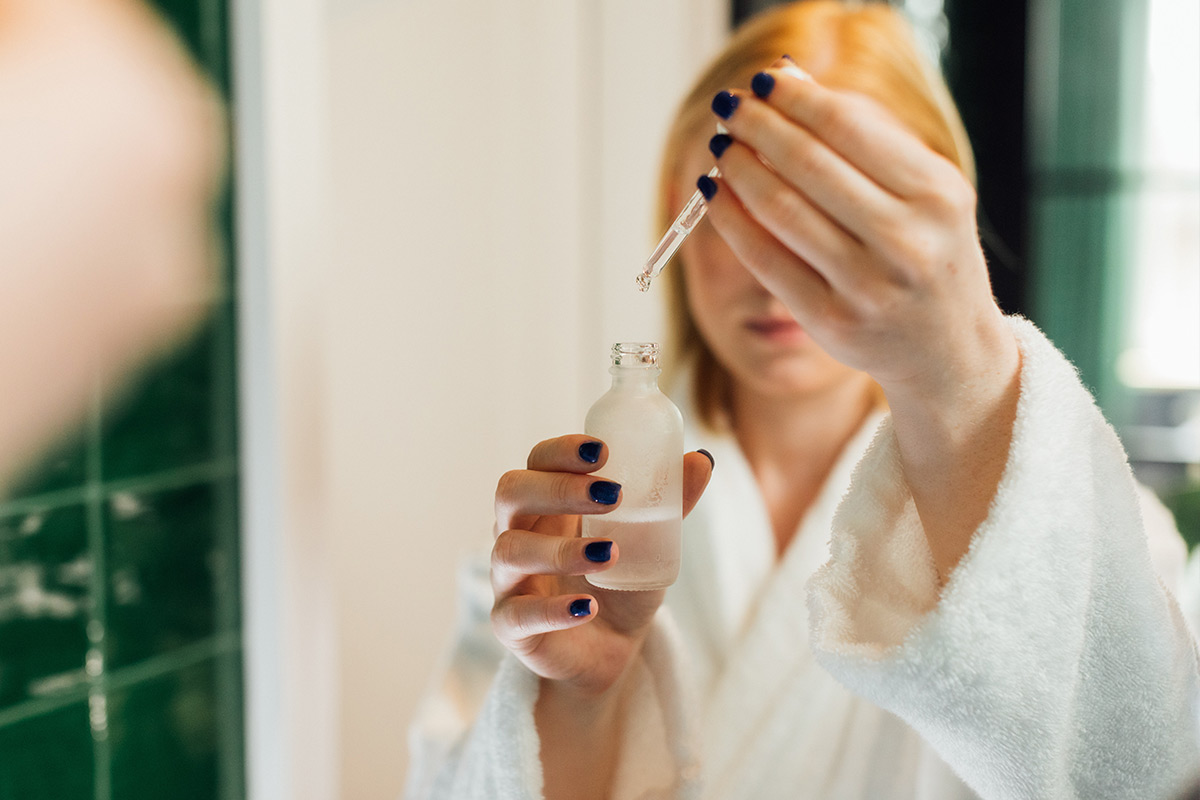
This is a foundational recipe, suitable for beginners and customizable later. This recipe makes about 0.5 – 0.7 fl oz (15-20ml) of serum, which is approximately a 5-10% Vitamin C concentration, a fairly safe level to start with.
Ingredients:
- ½ teaspoon Vitamin C powder (L-Ascorbic Acid) – about 1 gram.
- 2 tablespoons (approx. 30ml) distilled water OR 1.5 tablespoons (approx. 22.5ml) distilled water + ½ tablespoon (approx. 7.5ml) vegetable glycerin. (If using glycerin, reduce the amount of water).
- (Optional) A few drops of Vitamin E oil.
- (Optional) 1 teaspoon pure aloe vera gel.
A Note on Concentration:
- If you prefer a lower concentration (around 5%), use about ¼ teaspoon of LAA powder with the same amount of solvent.
- If your skin is accustomed and you want to try a higher concentration (max 15-20% for DIY at home, and proceed with great caution), you can increase the LAA, but always start slowly and patch test thoroughly. We recommend starting with a lower concentration to ensure skin safety.
Optional Alternative: Use a Pre-Stabilized Vitamin C Elixir Instead
If you’d rather not work with Vitamin C powder, you can skip the L-ascorbic acid entirely and still get the glow-boosting benefits. Simply make the serum base above as directed (without the Vitamin C powder), and then:
- Add 1–3 drops of our Brighten Concentrated Boosting Elixir (which features Tetrahexyldecyl Ascorbate) into your palm each time you apply your DIY serum base.
This oil-soluble, stabilized form of Vitamin C penetrates deeper into the skin and is gentler for sensitive types. Use:
- 1 drop for a mild daily antioxidant boost
- 2–3 drops for more visible brightening over time
Pro tip: This method gives you a fresh, customized dose of vitamin C with every use—no mixing, no oxidation, and longer shelf life.
Step-by-Step Guide to Making Vitamin C Serum at Home
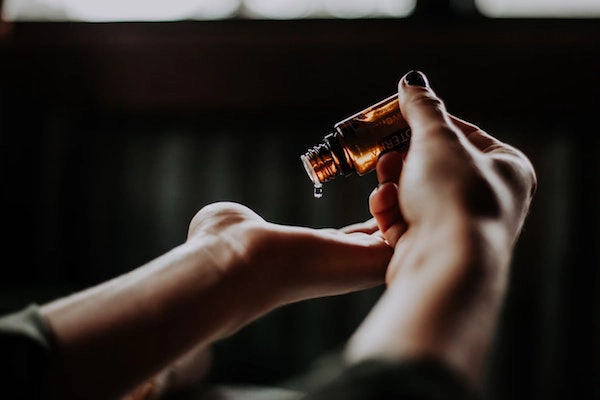
Ensure your hands and all your tools are clean before you begin!
Step 1: Prepare the solvent.
- If you’re using only distilled water (or rose water), measure the required amount into a clean glass cup.
- If you’re using glycerin and/or aloe vera, mix them thoroughly with the distilled water in the cup first. Glycerin is quite thick, so premixing helps it incorporate better.
Step 2: Dissolve the Vitamin C powder.
- Slowly add the measured L-Ascorbic Acid powder to your prepared solvent.
- Gently stir with your non-metal utensil until the Vitamin C powder is completely dissolved. This might take a few minutes. Stir patiently and consistently; you’ll see the solution become clear, with no gritty particles remaining.
Step 3: Add Vitamin E (if using).
- If you’ve decided to include Vitamin E oil, this is when you add a few drops to the mixture and stir gently again.
Step 4: Transfer the serum to the bottle.
- Carefully pour your freshly made serum into the prepared dark glass bottle. Using a small funnel will make this easier and prevent spills.
- Seal the bottle tightly.
Step 5: Label and store.
- Write the date you made the serum on a label and stick it on the bottle. This is very important for tracking freshness.
- Immediately store the serum bottle in the refrigerator. This is the ideal “home” to help your serum maintain its stability and slow down oxidation.
Congratulations! You’ve just successfully handmade your very own fresh Vitamin C serum!
Customizing the Recipe for Your Needs (Optional)
Once you’re comfortable with the basic recipe, you can experiment a little to better suit your skin type. However, always remember to add new ingredients one at a time and patch test carefully.
- For dry skin: You can slightly increase the amount of glycerin or add aloe vera gel as suggested in the basic recipe. A few drops of your favorite facial oil (like jojoba or grapeseed–non-comedogenic types) could also be added, but ensure it’s suitable for combination and won’t make the serum spoil quickly. (This is where pre-formulated serums may shine over DIY versions, as they carefully emulsify aqueous-based and oil-based ingredients into a silky texture to address hydration and moisturization).
- For oily skin: Reduce or omit glycerin if you find it too heavy. Rose water (alcohol-free) or witch hazel (alcohol-free) can be good solvent choices. If you want to add oil-assisting ingredients, research them thoroughly and ensure they are safe and won’t interact negatively with Vitamin C.
- Important Note: Annmarie Skin Care always prioritizes safety and gentleness. If you have sensitive skin or are unsure, it’s best to keep the recipe as simple as possible.
Guide to Using Homemade Vitamin C Serum Safely and Effectively

To ensure your homemade Vitamin C serum works optimally and is safe for your skin, follow these important guidelines:
Always Perform a Patch Test Before Use:
Apply a small amount of serum to a discreet skin area (behind the ear or inner wrist) and monitor for 24-48 hours. If there’s no irritation (redness, itching), you can use it on your entire face. This is a crucial step, especially for sensitive skin or when trying a new formula/concentration.
Start Slowly & Adjust Based on Your Skin’s Reaction:
- Amount: Only 2-4 drops are needed for the entire face. Avoid using too much, as Vitamin C (LAA) is acidic and can cause irritation if the concentration is too high or a large amount is used.
- Consider Using the Alternative Method: Omit the LAA vitamin C powder and instead try the Brighten Concentrated Boosting Elixir for a more stable, gentler form of vitamin C application.
- Frequency & Sensation: If new to it, start with 2-3 times a week. Slight initial tingling can be normal. If your skin is fine, you can gradually increase it to once daily (morning or evening). If burning or persistent redness occurs, discontinue use, try diluting the serum more in your next batch, or space out usage days.
Apply Correctly in Your Skin Care Routine:
Use the serum after cleansing and toning, while skin is still slightly damp. Wait for the serum to absorb (1-2 minutes) then follow with facial cream and/or facial oil. If you use Vitamin C serum in the morning, it is beneficial to finish your routine with a layer of moisturizer and sunscreen afterwards. Learn more about how to use Vitamin C serum effectively.
Store Properly to Maintain Freshness & Efficacy:
- Always keep the serum in a dark glass bottle, tightly sealed, to limit exposure to air and light.
- Store in the refrigerator. This significantly slows down the oxidation process.
- Shelf life: Best used within 1-2 weeks. The addition of glycerin might extend this slightly compared to water-only serums. Discard if the serum changes color (from clear/very pale yellow to dark yellow, orange, brown) or has an unusual smell, as this indicates Vitamin C has oxidized, lost its potency, and may not be good for the skin.
Note on Combining with Other Actives:
If you use products containing a retinol-alternative, AHAs, or BHAs, consider using your Vitamin C product in the morning and resurfacing products in the evening. This will help spread out the number of actives you use per session to avoid overloading or irritating your skin. It’s best to use them alternately (e.g., Vitamin C in the morning, other activities in the evening) or consult a professional. Read more about how to use AHAs, BHAs, and Vitamin C together.
Conclusion
Making your own Vitamin C serum is a delightful DIY project. While it might initially take some experimentation to find your ideal recipe, crafting your own skin care brings much joy. Always patch test before use—and remember, Vitamin C is a proven ingredient that supports brighter, firmer-looking skin and helps soften the look of fine lines.
Whether you choose to explore DIY or trust our organic ingredient Vitamin C serum products, incorporating Vitamin C into your skin care routine is a smart move. To maximize its benefits, learn more about how to use Vitamin C with AHAs and BHAs. Wishing you a radiant glow!
Frequently Asked Questions
What is the best homemade vitamin C serum?
There isn’t a universally “best” homemade Vitamin C serum, as the most effective formula is the one tailored to your specific skin type and tolerance. You can start with basic ingredients like L-Ascorbic Acid powder and distilled water, optionally adding glycerin or aloe vera for extra hydration and soothing. Or simply boost your existing or DIY serum with Annmarie Skin Care’s Brighten Concentrated Boosting Elixir for vitamin C customization. The most crucial steps are to always patch test, begin with a low Vitamin C concentration, and gradually adjust based on your skin’s reaction to discover your “golden recipe.”
What ingredient to avoid in vitamin C serum (DIY)?
When making your own Vitamin C serum, you should avoid using tap water, as it may contain impurities and chlorine that can affect the serum’s quality. Additionally, do not arbitrarily mix multiple potent active ingredients like high-concentration Retinols or AHAs/BHAs into the same DIY formula without in-depth knowledge, as this can cause skin irritation or destabilize the serum. Always prioritize simplicity with pure, gentle ingredients and ensure they are safe for topical use.
What should you not mix with vitamin C (L-Ascorbic Acid)?
To ensure efficacy and avoid skin irritation, you should not directly mix L-Ascorbic Acid with Niacinamide in the same DIY formula, as this combination at an uncontrolled pH can cause skin redness. For products containing Retinol, retinol-alternatives, AHAs, or BHAs, it’s best to use them at different times of the day (e.g., Vitamin C in the morning, other actives in the evening) rather than layering them simultaneously with your Vitamin C serum.
W




Leave a Reply