
Table of Contents[Hide][Show]
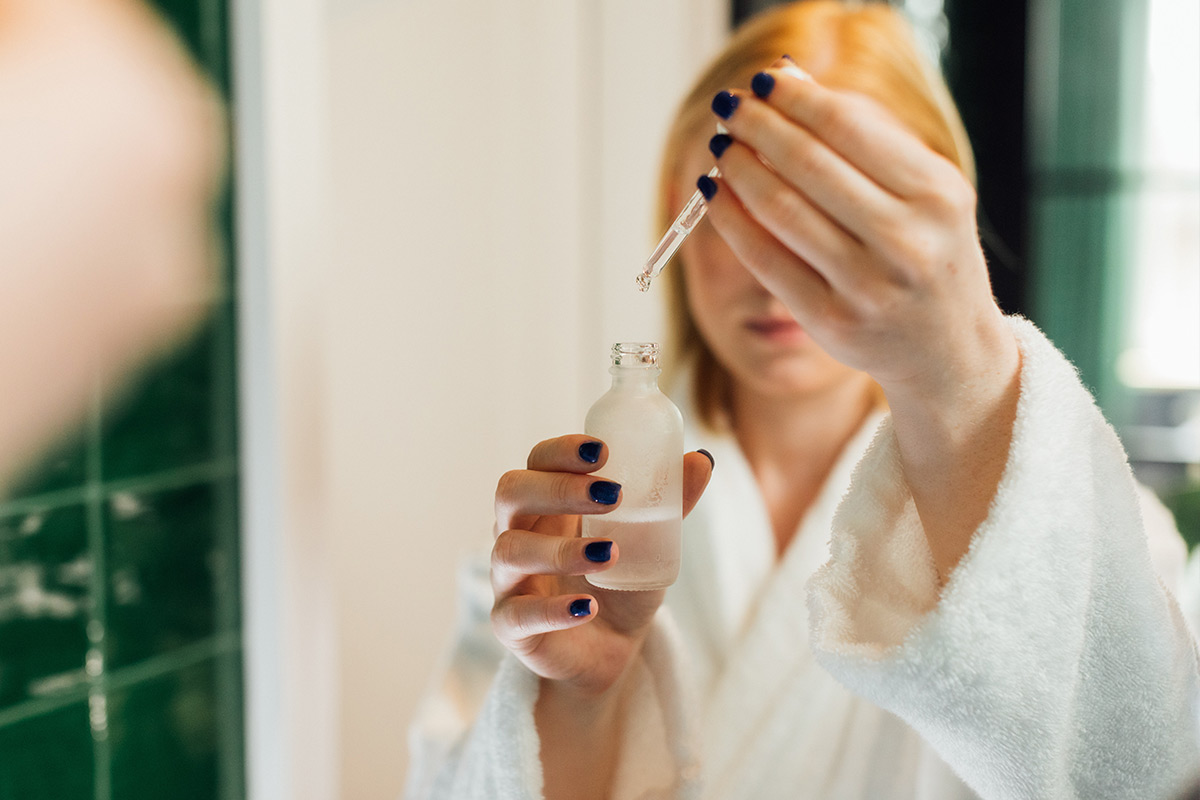
Your skin has its own language. There are days when it glows, but there are also days when it speaks up with dryness, excess oil, or sensitivity. Have you ever felt overwhelmed by the endless serum options out there, wondering what your skin truly needs?
The answer might be right in your own kitchen. Making your own face serum not only gives you 100% control over what you put on your face, but it also empowers you to understand and respond precisely to your skin’s needs. This article will be your companion, providing you with a solid foundation of knowledge to confidently create the perfect serum—a product made by you, for you.
How to Make a Face Serum at Home: The Foundational Recipe
If you’re curious about how to make a face serum at home, this beginner-friendly approach is the perfect place to start. While most traditional face serums are aqueous-based, they often involve more advanced cosmetic formulation techniques—like emulsifiers and natural preservation systems. For more on the role of aqueous-based serums, check out our guide on what a face serum is and its benefits.
In this guide, we’ll walk you through a simple, oil-based DIY face serum recipe. Although oil-based formulas function more like moisturizers than true serums, they can still provide concentrated botanical nourishment to support the look and feel of your skin.
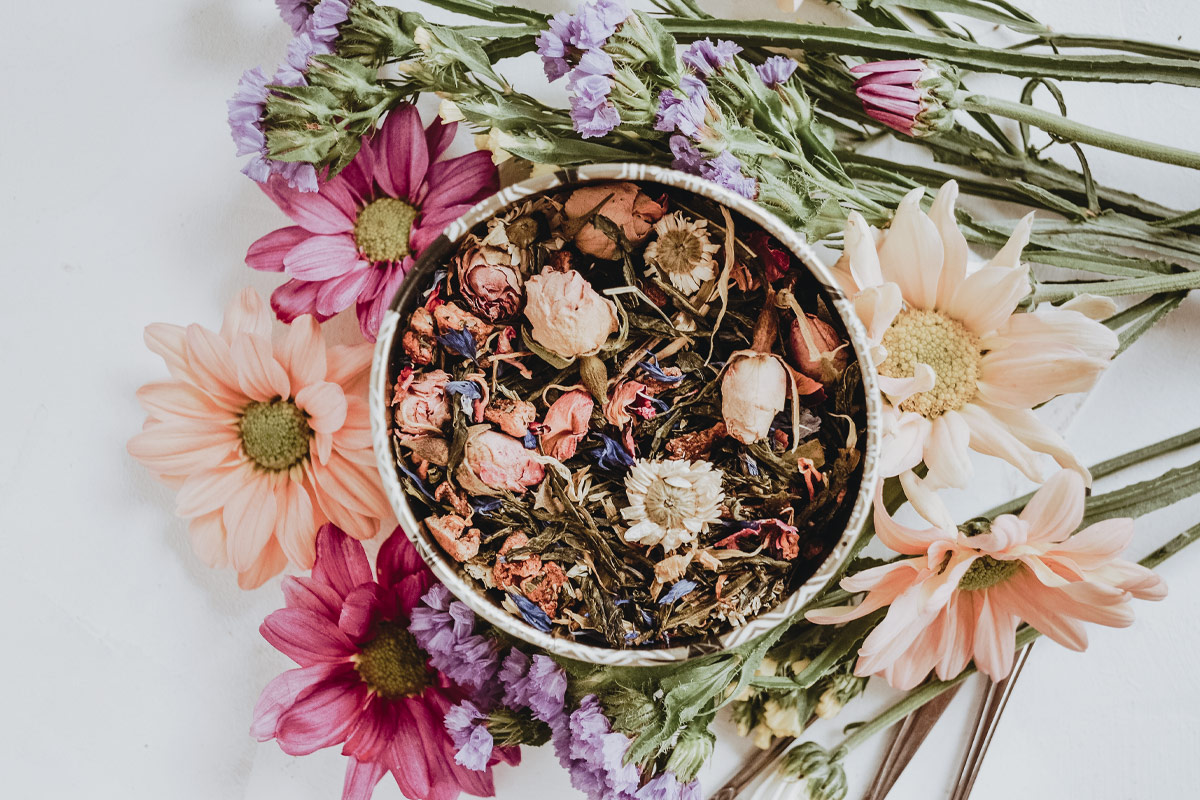
A homemade face serum typically combines a carrier oil (like jojoba, rosehip, or argan) with optional ingredients like essential oils, botanical extracts, or oil-dispersible vitamins. The result? A customizable facial oil that can be part of your daily routine—whether you’re looking to support a more radiant complexion, improve the look of dry or mature skin, or simply explore more natural skin care.
This foundational DIY facial serum recipe is a great base to build on. You can customize it depending on your preferences—like creating a DIY face serum for glowing skin, a homemade face serum for the look of dark spots, or a DIY face serum for sensitive skin.
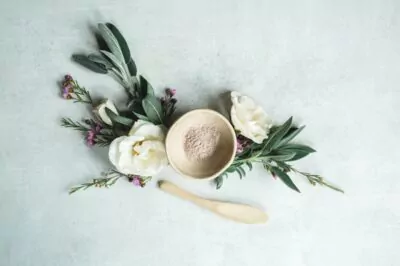
A DIY face serum is a blend of a nutrient-rich carrier oil and targeted activated ingredients (like plant extracts and essential oils) to provide deep nourishment and moisture to the skin. Think of it less as a product and more as a concentrated, nutrient-dense meal for your skin.
Understanding the Role of Each Ingredient
This recipe is built on three core components, each with a specific purpose.
- The Foundation: Carrier Oil (2 tbsp / 30ml)
- We start with organic, cold-pressed Jojoba Oil. Why Jojoba? Because its molecular structure is incredibly similar to your skin’s natural sebum. This allows it to absorb beautifully without clogging pores and helps balance both dry and oily skin types, making it the perfect universal base.
- The Active: Concentrated Boosting Elixirs (1-3 drops) or Essential Oil (4-6 drops)
- Hydrate – Our hyaluronic acid and peptide complex is designed to deliver lightweight hydration while helping to support the skin’s natural moisture barrier. Add a few drops (1-3) to deliver intense hydration and leave your skin looking firm and plump.
- Brighten – Formulated with a stable form of Vitamin C (THD Ascorbate) and antioxidant-rich sea buckthorn, this brightening boosting elixir helps promote the appearance of a more even, radiant-looking complexion. Add a few drops (1-3) into your DIY serum to give your skin a healthy glow.
- We’ve chosen Lavender essential oil not just for its calming aroma, but for its soothing properties. It helps to calm the appearance of temporary redness and irritation, making this serum a gentle treat for your skin and your senses.
- The Protector: Antioxidant (¼ tsp)
- A few drops of Vitamin E oil play a dual role. First, it acts as a natural antioxidant that helps prolong the shelf life of your carrier oils, preventing them from going rancid too quickly. Second, it provides its own skin-loving benefits, helping to protect the skin from environmental stressors.
Tools and Instructions
Creating your serum should be a mindful moment. Prepare your space and your tools.
- Tools Needed: A clean, 1-ounce (30ml) dark glass bottle with a dropper. The dark glass is crucial as it protects the delicate oils from UV light, which can degrade them over time.
- 3-Step Instructions:
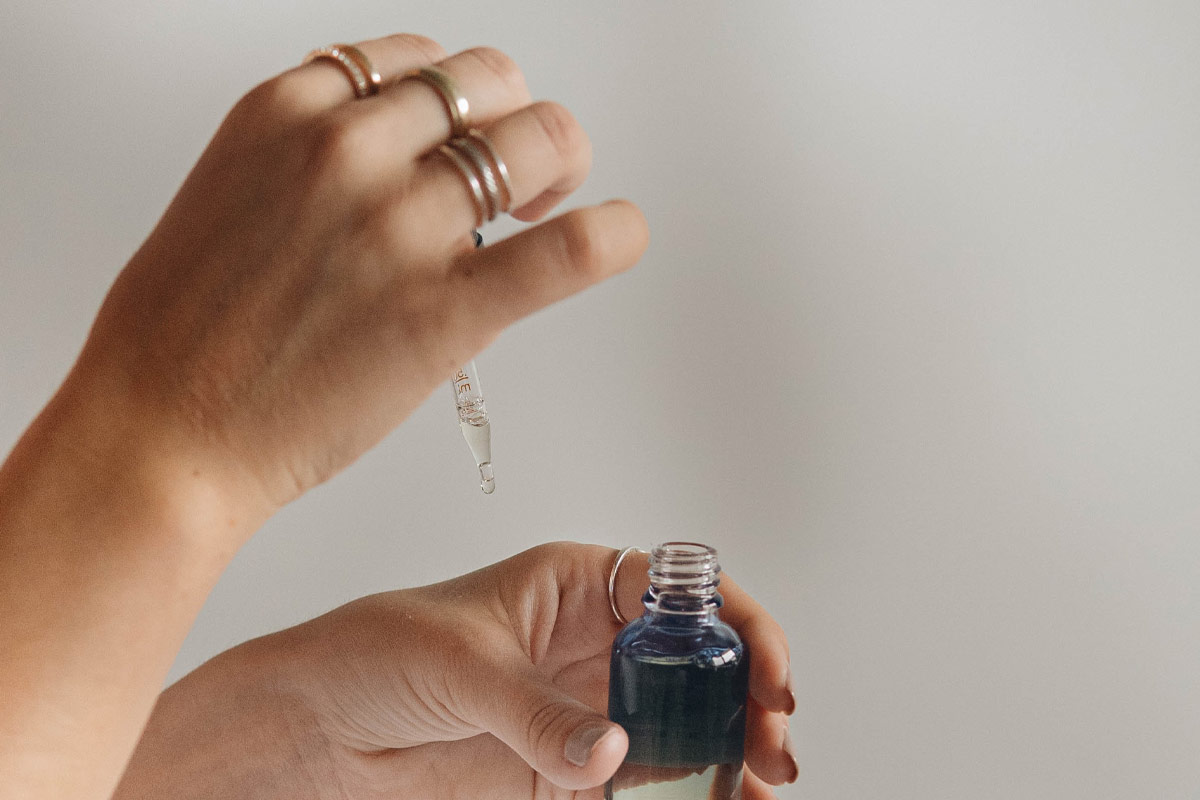
- Using a small funnel, mindfully pour the Jojoba Oil and Vitamin E oil into your glass bottle.
- Gently add each 1-3 drops of Hydrate, 1-3 drops of Brighten, and 4-6 drops of Lavender essential oil, counting as you go.
- Secure the cap tightly and roll the bottle gently between your palms for 30 seconds. Feel the warmth from your hands as you blend the ingredients into a unified, beautiful serum.
Essential Safety and Storage Tips for Your Homemade Serum
- Patch Test First: Before embracing your new serum, always perform a patch test. Apply a single drop to a discreet area of skin (like behind your ear) and wait 24 hours. This simple act of patience ensures the blend is a good match for your unique skin.
- Store with Love: Keep your serum in a cool, dark place, away from direct sunlight and heat. This will preserve its integrity and potency. For the best experience, use it within 6 months.
Customize Your Serum for Your Skin’s Needs
The foundational recipe is a beautiful starting point, but the true magic of DIY skincare lies in personalization. To create your perfect blend, you first need to understand your skin’s unique language (if you’re unsure, our guide on how to determine your skin type can help). Let’s begin with the specific needs of an oily complexion.
For Oily Skin & Clogged Pores
With oily skin, the guiding philosophy is to balance, not to strip. The goal is to gently soothe the skin’s natural oil production and support a clear-looking complexion without the harshness that can trigger even more oil. Imagine a serum that feels weightless, sinking in to leave your skin feeling nourished and calm, not greasy.
Your Best Carrier Oils
You’re looking for oils that are light, fast-absorbing, and have a low comedogenic rating. The right carrier oil will nourish your skin without feeling heavy or greasy. Here are our top recommendations:

- Grapeseed Oil: This oil is exceptionally light and rich in linoleic acid, an omega-6 fatty acid that oily skin often lacks. This helps to keep your skin’s natural oils more fluid and less likely to clog pores.
- Jojoba Oil: This is skin’s great diplomat. Because it so closely resembles your natural sebum, it helps to balance the look of your complexion, leaving it feeling moisturized but never heavy.
- Black Cumin Seed Oil: A potent, historical oil with a distinct herbaceous aroma, revered for its ability to support a calm, clear-looking complexion.
Supportive Essential Oils
The role of essential oils here is to enhance the balancing act and promote a feeling of purity.
- Rosemary & Geranium: These are brilliant for helping to refine the look of pores and balance the appearance of shine.
A Recipe to Try
This blend is designed to feel clarifying and balancing.
- 2 tablespoons of grapeseed oil
- 5 drops of rosemary essential oil
For Dry & Dehydrated Skin
Dry skin thirsts for deep moisture and nourishment to restore its protective barrier. The goal here is to drench the skin in a comforting blanket of hydration, soothing any feelings of tightness and bringing back a supple, dewy look. We’ll choose oils that are richer and more emollient to provide lasting comfort.
Your Best Carrier Oils
You’re looking for oils that can deliver and lock in serious moisture. These oils are celebrated for their ability to deeply nourish and condition dry, thirsty skin.

- Sunflower Oil: This lightweight yet nourishing oil is rich in linoleic acid and vitamin E, making it ideal for dry and mature skin. It helps support the skin’s natural barrier, locks in moisture, and promotes a smoother, more supple appearance. With its gentle, non-comedogenic nature, sunflower oil delivers moisturization without feeling heavy—perfect for everyday use.
- Jojoba Oil: While great for oily skin, Jojoba is also a savior for dry skin. It supplements the skin’s natural sebum, providing much-needed moisture and helping to fortify the skin’s barrier against the elements.
Supportive Essential Oils
The right essential oils can enhance hydration and provide a calming, spa-like experience.
- Sandalwood: This precious oil is renowned for its hydrating properties, helping the skin to look plump and moisturized.
- Lavender: A gentle hero, Lavender helps to soothe and calm the skin, which is especially beneficial when dryness leads to feelings of irritation.
- Chamomile: Known for its incredibly gentle nature, Chamomile is perfect for calming the appearance of temporary redness that can sometimes accompany dry, sensitive complexions.
A Recipe to Try
This blend is designed to feel like a deeply nourishing hug for your skin.
- 1.5 tablespoons of jojoba oil
- 0.5 tablespoon of sunflower oil
- 6 drops of sandalwood essential oil
For Aging & Mature Skin
To care for mature skin, we focus on nourishment, replenishment, and radiance. The goal is to create a luxurious serum that helps to diminish the appearance of fine lines and wrinkles, improve the look of firmness, and restore a vibrant, youthful glow. This is where rich, antioxidant-packed oils truly shine.
Your Best Carrier Oils
You’ll want oils celebrated for their rejuvenating properties and ability to support skin elasticity and tone.

- Rosehip Seed Oil: This is a true superstar in age-defying skincare. It’s naturally rich in vitamins A and C, antioxidants that are renowned for their ability to promote a more even-toned, luminous complexion and reduce the appearance of wrinkles.
- Argan Oil: Often called “liquid gold,” Argan oil is loaded with Vitamin E and essential fatty acids. It provides intense hydration and helps improve the look of skin’s elasticity, giving it a firmer, plumper appearance.
- Jojoba Oil: Once again, Jojoba provides a perfect, easily absorbed base that helps deliver all these potent nutrients deep into the skin, supporting a supple and moisturized feel.
Supportive Essential Oils
These timeless essential oils are revered for their ability to restore the look of beautiful, healthy skin.
- Frankincense: A precious oil that is celebrated for its ability to reduce the appearance of fine lines and give the skin a more toned, lifted look.
- Rose: The queen of flowers, Rose oil helps to hydrate the skin and renew its appearance, promoting a smooth, glowing complexion.
- Myrrh: An ancient oil with powerful antioxidant properties that helps to give your face a glowing look, resulting in more refined-looking skin.
A Recipe to Try
This blend is a rich, restorative elixir designed to bring back radiance.
- 1.5 tablespoons of rosehip seed oil
- 0.5 tablespoon of argan oil
- 5 drops of frankincense essential oil
- 3 drops of rose essential oil
For Sensitive Skin
When caring for sensitive skin, the mantra is “gentle, gentle, gentle.” The goal is to calm, soothe, and fortify the skin’s barrier without causing any irritation. We want to create a simple, pure serum that feels like a protective, comforting veil, helping to reduce the appearance of temporary redness and reactivity.
Your Best Carrier Oils
Purity and gentleness are paramount. You’re looking for oils that are known to be extremely well-tolerated and have powerful soothing properties.

- Sacha Inchi Oil: Cold-pressed from Amazonian seeds, this lightweight oil is a calming option for sensitive or reactive skin. It’s rich in omega-3 fatty acids and antioxidants, which help soothe the appearance of temporary redness and support a resilient skin barrier. Fast-absorbing and non-greasy, it delivers nourishment without overwhelming delicate skin.
- Grapeseed Oil: A gentle, non-comedogenic oil that’s well-suited for sensitive skin. High in linoleic acid and antioxidants like proanthocyanidins, grapeseed oil helps balance skin’s natural oils while providing lightweight moisturization. May also help refine the look of pores and calm visible irritation.
Supportive Essential Oils
When it comes to sensitive skin, simplicity is key. Essential oils, while beneficial for many, can sometimes be too stimulating for delicate or reactive skin types—even in low concentrations. Instead, we recommend focusing on nourishing, barrier-supportive ingredients that calm and comfort the skin without added fragrance or potential irritants.
Here are a few gentle additions you can consider:
- Calendula Infusion: Calendula flowers steeped in a carrier oil (like sunflower or jojoba) create a calming infusion that helps reduce the look of irritation and promote a soft, healthy appearance.
- Aloe Vera: A gentle botanical rich in polysaccharides that help hydrate and soothe without overwhelming sensitive skin.
By skipping essential oils and leaning into these calming plant-based allies, you can create a serum that truly supports the unique needs of sensitive skin.
A Recipe to Try
This ultra-gentle blend is designed to soothe and comfort your delicate skin.
- 1 tablespoon Sacha Inchi Oil
- 1 tablespoon Calendula-infused Oil
- ½ teaspoon pure Aloe Vera Gel or Juice
(To learn more about the best oils for your skin, you can explore our in-depth guides on carrier oils and essential oils.)
How to Use and Store Your DIY Serum Properly
Creating your serum is a beautiful first step. To truly unlock the benefits of your handcrafted blend, how you apply and store it is just as important. Think of it as the final, mindful step in your self-care ritual.
The Art of Application
- Order Matters: Always apply your facial serum to skin that is freshly cleansed and toned. A true aqueous-based serum should go on before your moisturizer, but in this case, where we are making oil-based products, they can be used as your moisturizing step (or applied before your heavier moisturizer). This order allows the potent ingredients to absorb directly into the skin, while your moisturizer will later act as a seal, locking in all the goodness.
- Pro Tip: For enhanced absorption, apply your serum to skin that is still slightly damp from your toner or a facial mist.
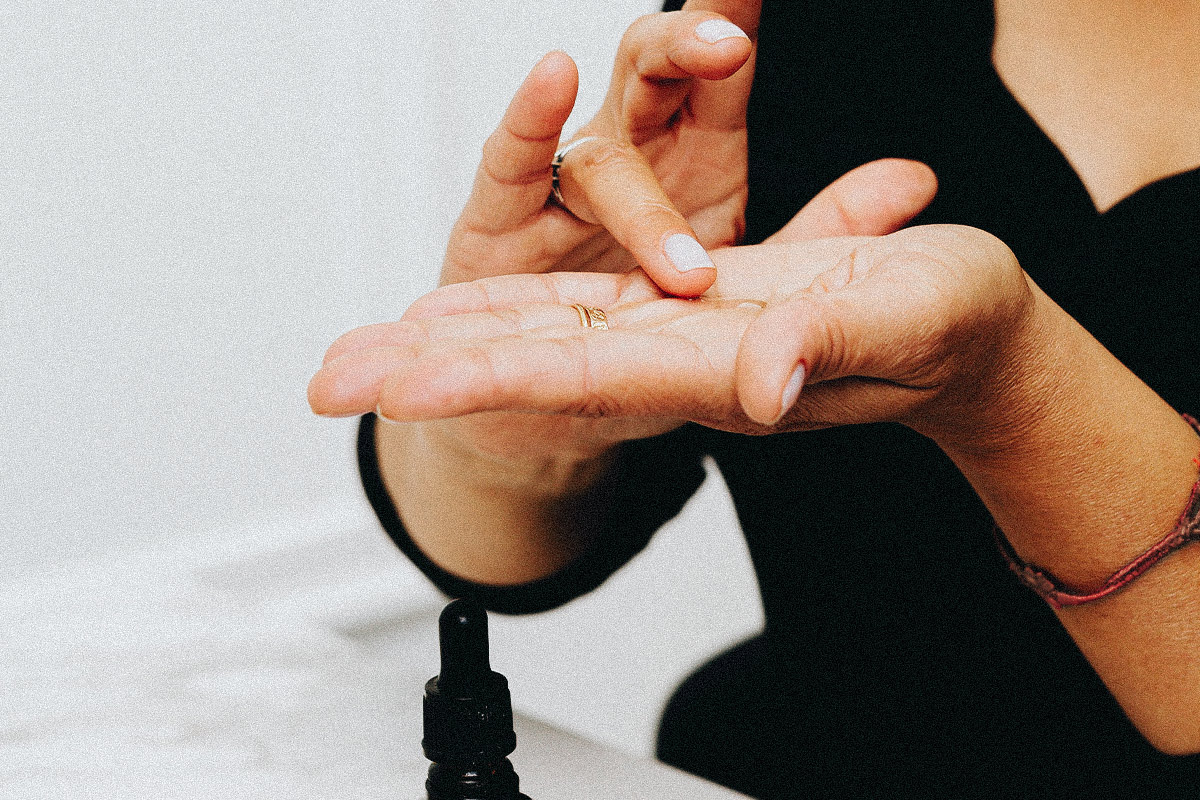
- A Little Goes a Long Way: You only need 3-4 drops for your entire face and neck.
- Dispense the drops into the palm of your hand.
- Gently rub your palms together to warm the oil. This awakens the aroma and helps it spread more easily.
- Instead of rubbing, gently press or pat the oil onto your face and neck. This gentle motion is kind to your skin and aids absorption.
Frequency and Safe Storage

- When to Use: You can use your serum both morning and night as part of your daily routine. The one exception is if your blend contains photosensitive essential oils (like lemon, bergamot, or grapefruit). In that case, use the serum only at night to avoid sun sensitivity.
- Store with Care: Light and heat are the enemies of fresh, natural oils. To protect your beautiful creation, store the bottle in a cool, dark place, like a cabinet or drawer, away from direct sunlight and bathroom humidity. This will preserve its potency and ensure it stays fresh for up to six months.
Your Journey into Mindful Skincare
Creating your own facial serum is more than just a DIY project—it’s an empowering act of self-care. You now have not only the recipes, but the knowledge to listen to your skin and respond to its needs with pure, natural ingredients.
We understand that while the journey of creating is beautiful, life can be busy. If you love the philosophy of pure, potent skincare but prefer the convenience of a masterfully crafted formula, we invite you to explore our full collection of wildcrafted serums & elixirs that are aqueous-based. Each product is made with the same love and commitment to quality that we encourage in your own creations.
Frequently Asked Questions
Which homemade serum is best for the face?
The best homemade serum is the one tailored specifically to your skin type. There is no single “best” recipe for everyone. The true beauty of DIY skin care is the power to listen to your skin and respond. Is your skin feeling oily? A light, clarifying serum with grapeseed oil might be best. Feeling particularly dry? A richer, nourishing blend with jojoba oil would be wonderful. Our guide above is designed to help you become your own skin care expert and create the perfect blend for you.
What can I use instead of a serum?
It depends on what your skin is asking for! While serums are concentrated beauty treatments, other products serve different, equally important functions.
- A Facial Oil: If your primary goal is to moisturize and lock in hydration, a high-quality facial oil can be used on its own after cleansing and toning.
- A Hydrating Mist: For a quick boost of lightweight hydration throughout the day or to prep skin, a facial mist with ingredients like rosewater or aloe can be a great option.
- A Balm or Face Cream: For very dry, chapped areas or for heavy-duty overnight protection, a thick, occlusive balm or face cream is more suitable than a serum.
How to make a Korean face serum at home?
Korean serums are typically water-based (aqueous), lightweight, and focus on intense hydration with ingredients like hyaluronic acid, rice water, or ginseng. This differs from the oil-based serums we’ve focused on in this guide.
Creating a true, shelf-stable water-based serum at home is complex as it requires precise preservatives and emulsifiers to prevent bacterial growth. However, for a simple, K-beauty inspired hydrating treatment you can make fresh, try this:
- Mix 2 tablespoons of aloe vera gel (as a base) with 1 teaspoon of cooled green tea (for antioxidants).
- Use it immediately. This mixture is not self-preserving and should not be stored.


Leave a Reply